Introduction to Worm Farming
How do you use your worm farm to turn your food waste into a nutrient-rich product for the garden?
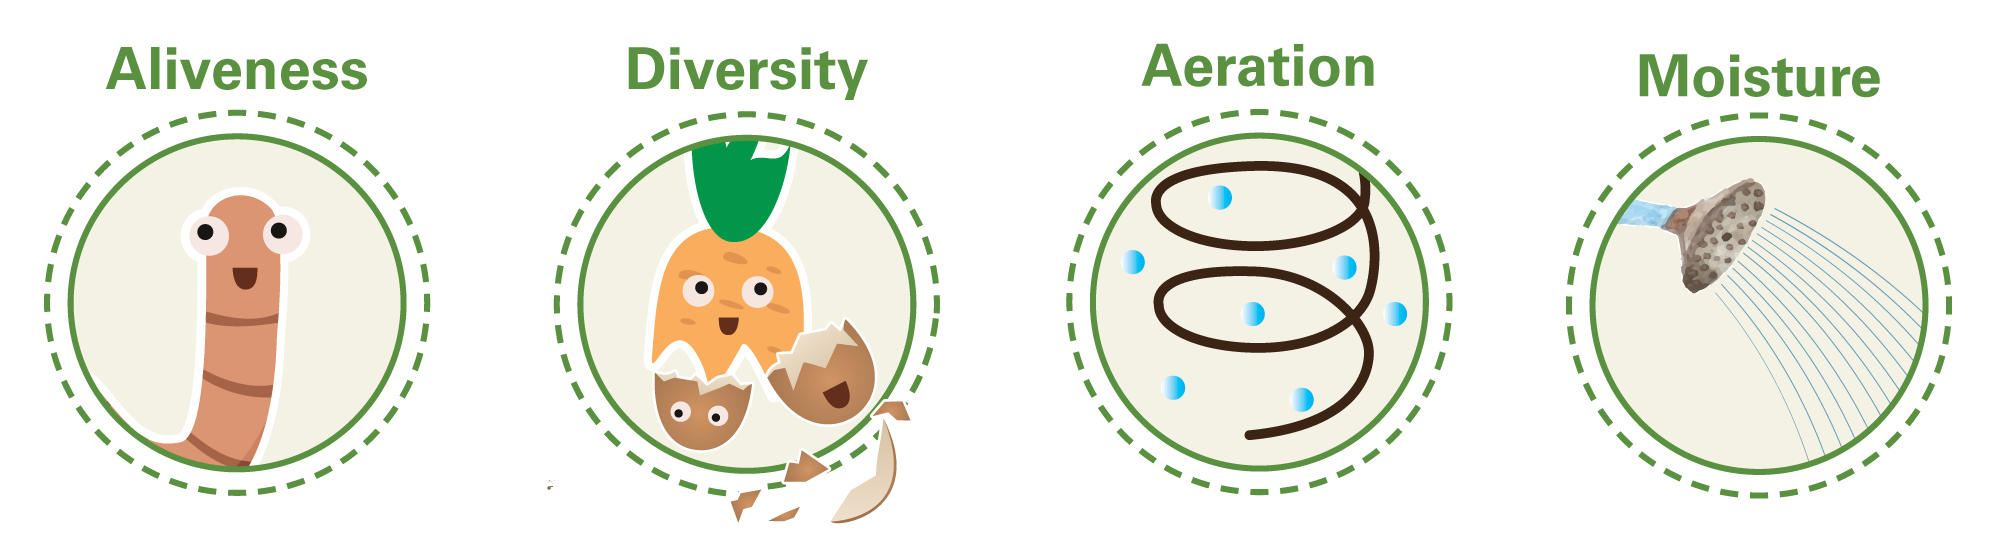
By following the ADAM principle you will have good castings.
Good worm farming comes from ALIVENESS, DIVERSITY, AERATION and MOISTURE.
You’ll find worms easy to look after if you remember they have sensitive skin:
- Make sure you harvest the worm tea regularly so your worm farm doesn’t fill up with liquid and drown your worms.
- Pour a bucket of water through your worm farm each week to keep it moist – remember to open the tap first so you don’t drown your worms (you can do this more often in hot weather).
- Feed your worm farm small amounts of fruit and vegetable scraps, but no garden waste. Worms like to eat most vegetable scraps (except raw potatoes and peelings) they love fruit especially melon, pineapple and apple peels (they don’t like citrus), they enjoy herbs (but don’t like strong flavours like chilli, onion and garlic).
- Worms will also eat soaked and ripped paper, hair, tea bags and crushed shell. Worms eat their body weight in food each day. Although they are not actually eating the food, but the bacteria on the surface of the food.
- Your worm farm is best kept sheltered from wind and sun.
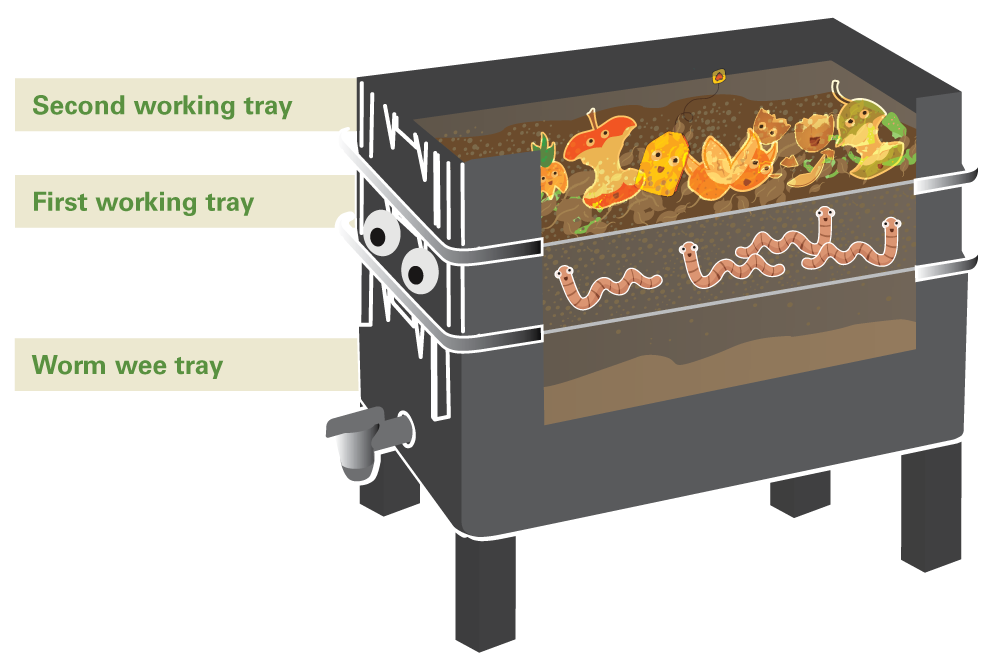
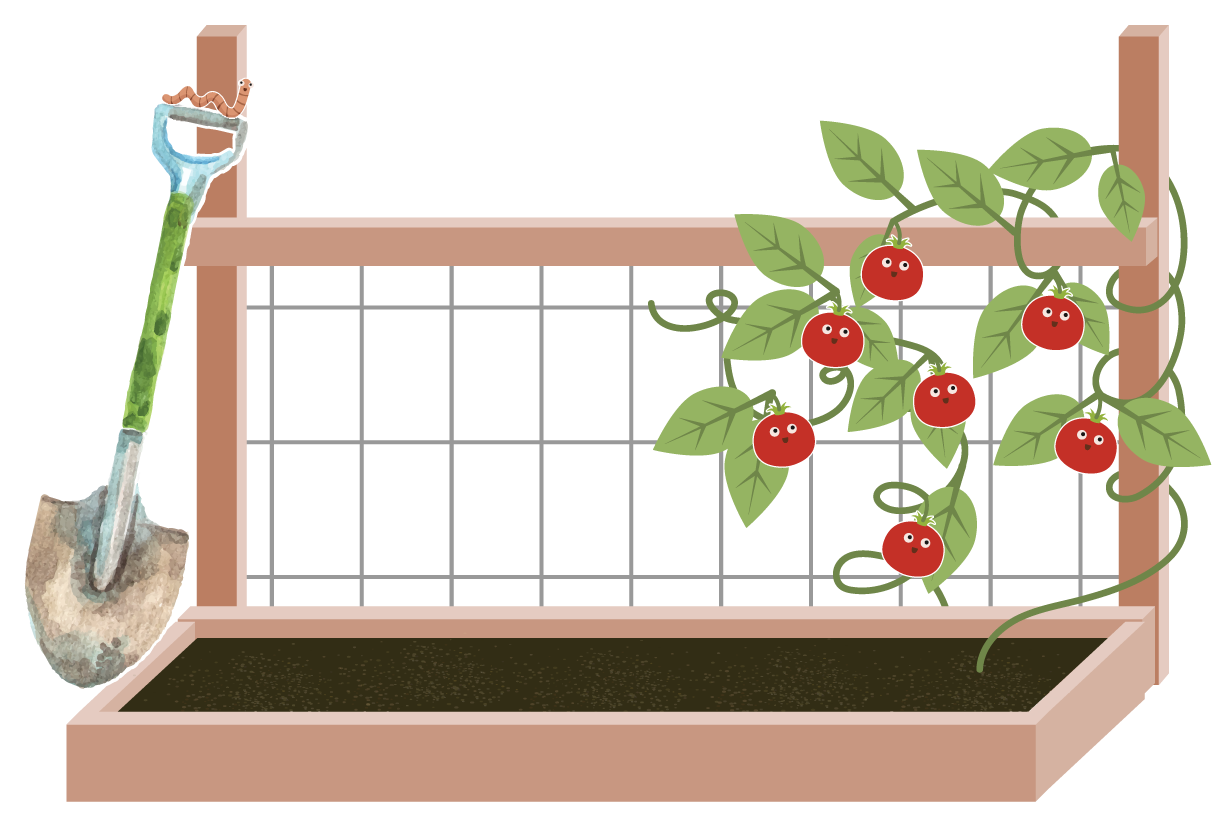
Setting Up Your Worm Farm
Worm farms need to be protected from the sun, rain and wind, so the location of your worm farm is important. Place the worm farm in a shady place in your backyard or on your balcony. Worm farms can be kept inside if you like.
Worm Population

Bedding Material
Before adding your worms to the worm farm, you will need to provide them with bedding material.
A coir fibre brick for the bedding should be provided in the worm farm kit. However, bedding can be made out of a combination of finished compost, leaves and shredded paper.
The bedding material should be moist before it is added to the first working tray of your worm farm. Make the bedding layer 10-15cm deep.
Settling In
Spread worms out on the surface of the bedding (first working tray) and allow them to burrow. Leave the worms for a week to allow them to settle in. The worms will live in the bedding, wriggling from lower bins to the upper bins to eat the food.
Worms move between layers through the holes but they can’t jump, so make sure the bedding material in the first working tray touches the bottom of the second working tray to allow the worms to travel up to the second working tray. Your worms will be happy settling in for a week or so before you start feeding them small amounts of food. Food should be placed in second working tray.
Covering the worms with a hessian sack or an old t-shirt (anything
breathable made from natural fibres), will help keep the worm
farm moist and help prevent fruit flies.
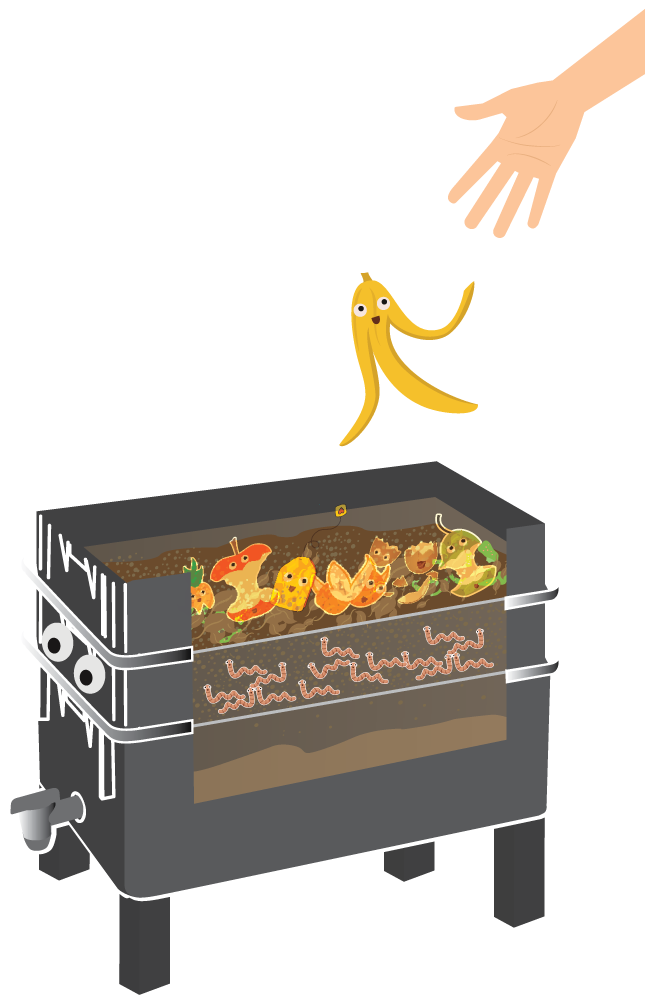
How to Feed your Worm Farm
Peel back the worm blanket, hessian or cloth cover. Sprinkle the food over the top and then replace the cover. You can also add some soil with the food. The grit helps the worms eat the food.
When starting out, add a small amount of food to the second working tray. You may not be able to feed your worms all your food scraps in the first few weeks. Do not overfeed. You can tell if you are feeding your worms too much, if your food scraps are getting mouldy (a sign your worms can’t keep up with the amount of food you are feeding them). Once your worms start multiplying, you will be able to give them more food.
Worms don’t have teeth so help them eat by cutting up food scraps.
The smaller the pieces, the faster the worms will eat them.
The worms will take a few months to get going.
What to Feed Your Worm Farm
Start out with small pieces of fruit and vegetable waste. Once your worm farm is well established, begin to add small bits of paper, hair, crushed egg shells, tea bags, coffee grounds, cooked food and dairy.
Worms don’t like citrus, chilli, onion, garlic, raw potato peelings, garden scraps, leaves and grass.
Worms also like liquids like old tea and coffee which also keep your
worm farm moist.

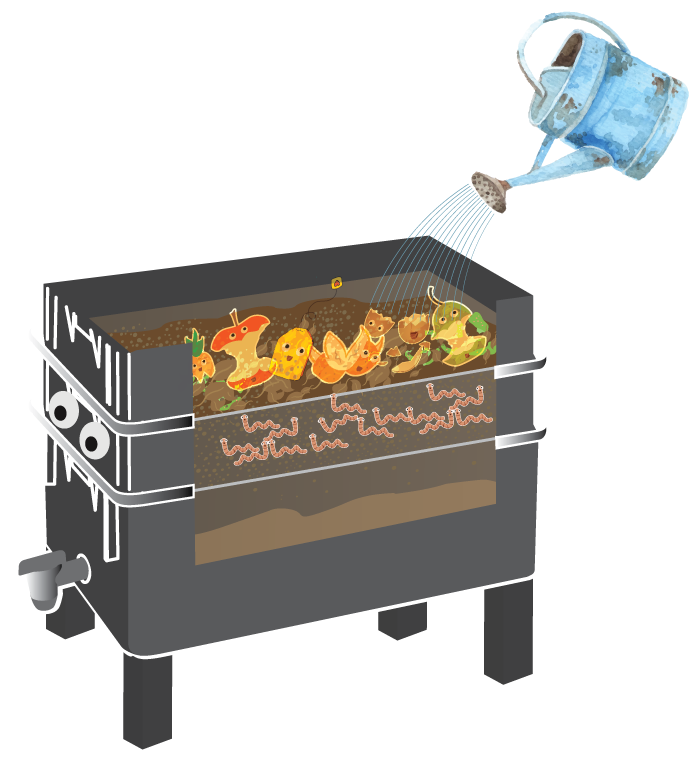
Adding Water
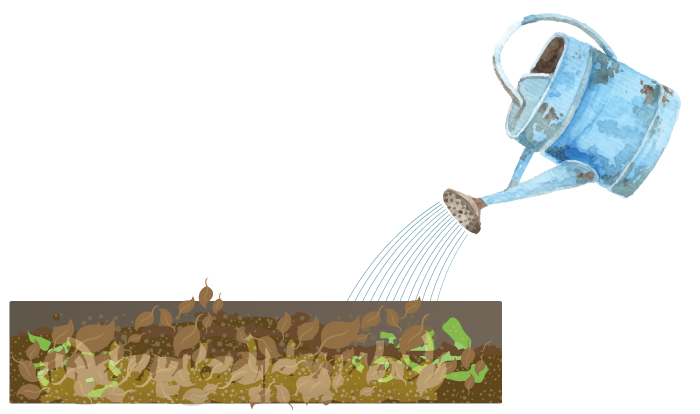
It is important to keep you worm farm moist. Worms rely on moisture within the soil to maintain their body functions. The worm farm should be the consistency of a wet sponge, not too moist or too dry.
Add water to the farm as required. This can simply be done by gently pouring a bucket full of water over the top. During periods of high temperatures you may need to water your worm farm every day.
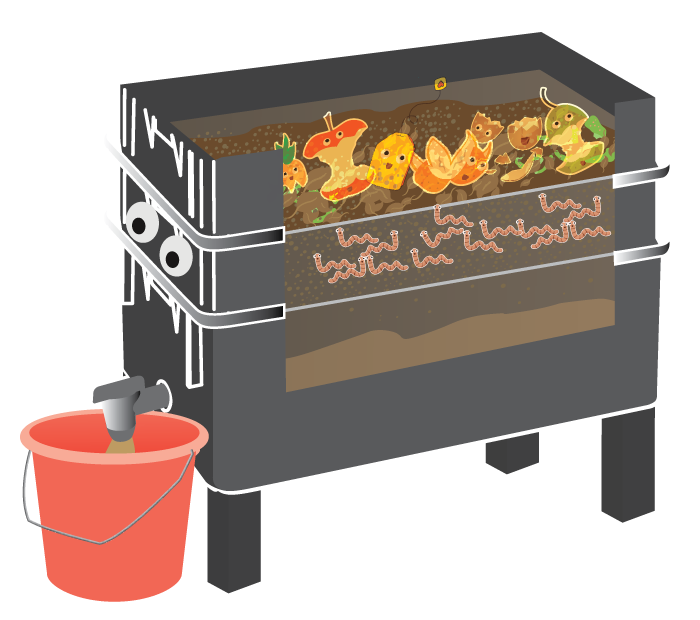
It is important to open or even remove the tap from your worm farm to allow the liquid to drain easily, otherwise your worms will drown. Leaving the tap open with a bucket or container under the tap to collect the worm tea is the easiest, most convenient way to collect the worm tea.
Harvesting
Turn the tap on to collect the worm tea or use the worm tea which has been draining into a bucket. Mix the worm tea with water (1:10) or to the colour of weak tea before feeding your plants.
When the castings have reached 2cm (about the moulded line), you can then harvest the castings from the first working tray. Stop feeding the worms for 1 week, remove the hessian cover and remove the first working tray (this was the original bedding tray) empty the castings from this tray. Most of the worms should have moved up to the second working tray (this is the tray you have been adding food).
Rotate the empty first working tray with the second working tray, so that the second working tray becomes the first working tray. Put some food scraps in the top empty tray and cover. The worms will move up towards the food in the top working tray.
Using Your Worm Farm Produce
The worm tea makes a great natural liquid fertilizer, full of nutrients. To use; mix 1 part worm tea to 10 parts water and use as a liquid fertilizer for your plants.
The castings can be:
- Mixed into compost and used in your “no dig” veggie garden.
- Added to potting mix when potting plants.
- Applied around the dripline of plants and native trees.
Avoiding Problems
Too Dry
Worms need moisture to maintain their body functions. Open or remove the tap and tip a bucket of water slowly over the top.

Too Wet
Worms can drown if there is too much liquid in the bottom tray. Leave the tap open to allow the worm tea to drain. Aerate the castings with a fork.

Too Acidic
If worms aren’t laying eggs, the farm will probably be too acidic (from fruit). An indication is the presence of small white worms and ants. Adding a sprinkle of garden lime or dolomite every month or so will help. After adding the lime, add water and ensure the lime is well watered in.
Unwelcome Visitors
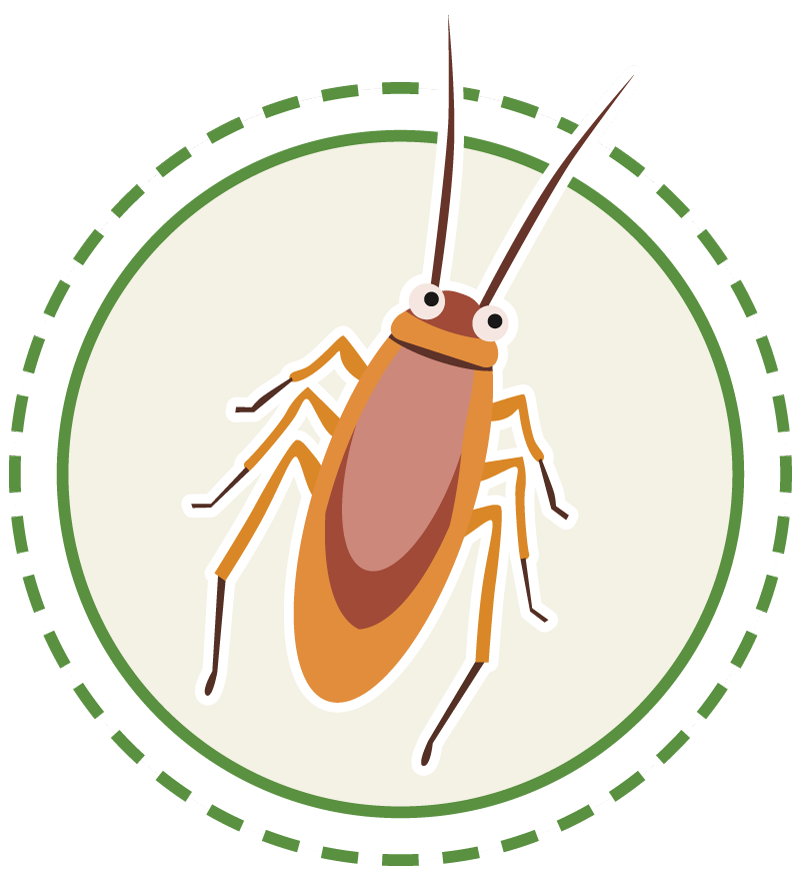
They hide in warm, dry, still patches. Soak your farm with a hose, and then thoroughly drain the farm by opening the tap.
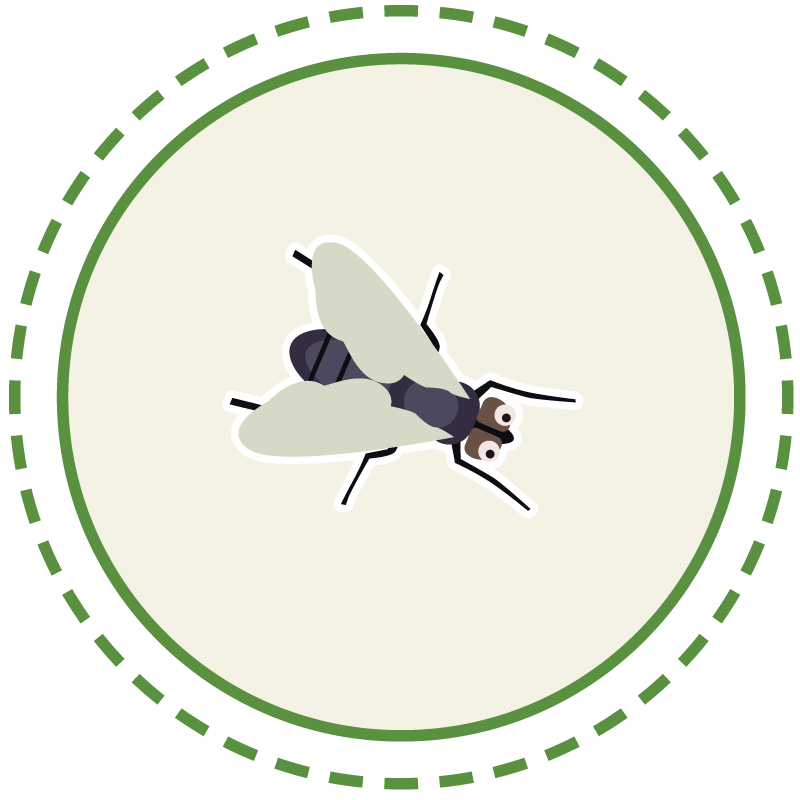
Often confused with maggots, soldier fly larvae are bigger, browner and more segmented. They help break down food waste quickly and aren’t a problem.
They could be attracted to your worm farm if it smells. Check the lid is secure and there are no gaps.
Worm Farming Tutorial Complete
Well done! You have completed the Worm Farming tutorial.
Please take our quiz below.